Building an Audio MicroScope™


By Allen H. Burdick
Introduction
Two inexpensive jack-mounted products from Benchmark Media Systems can be assembled into a very powerful test set we call The Audio MicroScope™. The Audio MicroScope™ is a tool to be used in setting up analog audio systems. Because of its extremely high gain capability, over 85 dB, it is particularly useful in hunting down signal interface problems, such as hum and buzz from RF interference, magnetic induction, and ground loops.
Devices Used
The first device in the test set is the MP-3, a single channel microphone preamplifier. The MP-3 is mounted on an XLR type jack and has a balanced input, variable gain from 26 to 65 dB, and a balanced output. It also has the ability to feed phantom power (with an external source of +48 V required) to a microphone. This can be useful even in this test set, particularly when testing microphone input cables. The performance of the MP-3 is excellent, with a 1 dB noise figure, a 2 kHz THD at A=40 dB of 0.005% and a bandwidth of greater than 200 kHz.
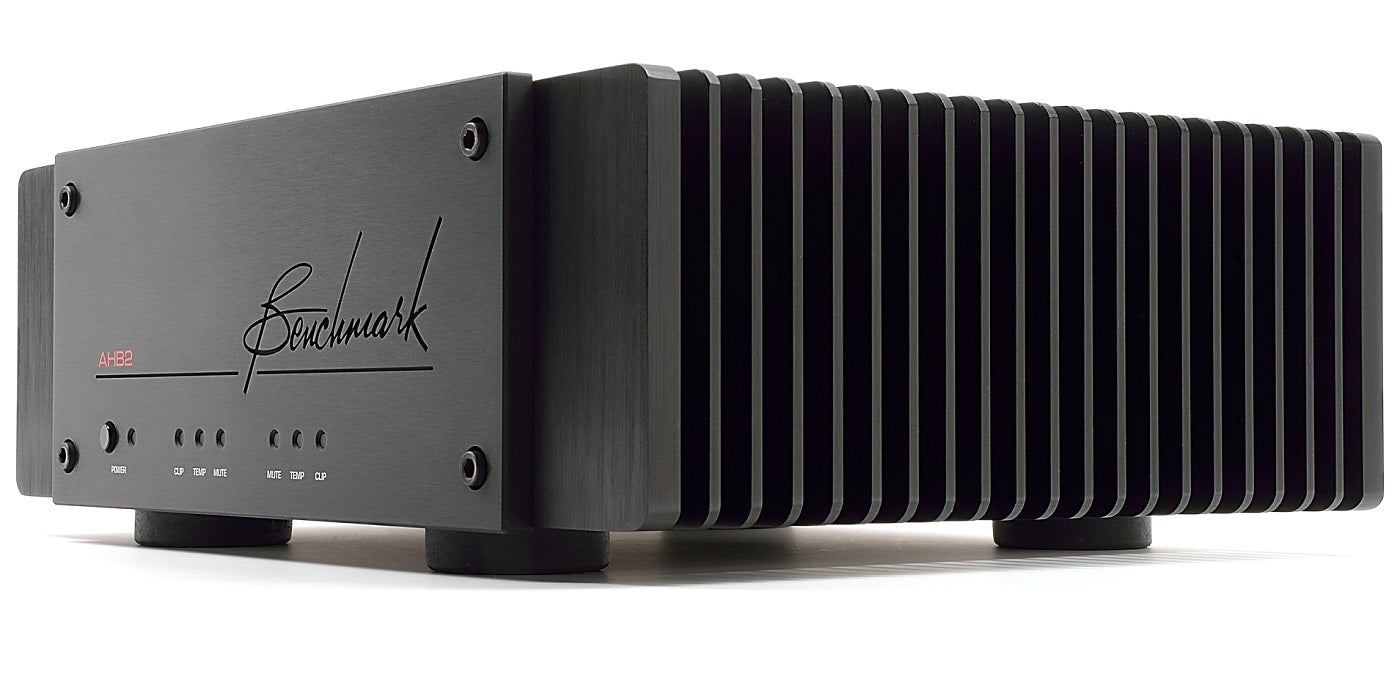
The second device used is the HPA-2. The HPA-2 is a high quality stereo headphone amplifier that has approximately 300 mA of very clean output capability per channel and is mounted on a 1/4" TRS jack. The HPA-2 is a improved headphone amplifier over the original HPA-1). Although the HPA-2 is a stereo device, in this application we will be using it as a dual channel mono amp. That is, both inputs to the HPA-2 will be connected to one half of the balanced output of the second product, the MP-3 microphone preamplifier.
Construction
Mount an MP-3, an HPA-2, in a project box along with a DPDT switch for power, and four 9 V batteries or a PS-1. Be sure to include a switch for the +48 V if it is used. The Audio Microscope™ will allow you to "look" at your system and find minute problems.
System Testing
To avoid damaging your hearing, since there is over 85 dB of gain available, you must be careful to have all normal audio fully removed from the path under test. Start with low gain and move cautiously upward as you begin the cleanup of the system.
Start at the beginning of the audio chain and listen to the microphone cable that feeds your console! Back terminate the wire, that is, replace the microphone with a 150 ohm carbon film or preferably a metal film resistor. Turn on phantom power, if available. Then turn up the gain and listen while you or someone else flexes the cable. If the cable is high quality, you will hear relatively little noise, if not, be prepared for a surprise. Next listen to the output of the first piece of equipment. It should be clean and free from hum. Move to the output of the next piece of equipment. Is the interconnect between the first two pieces of equipment free from mains-related hum and buzz? If not, work with the wiring and ground system, until they are. This, of course, assumes that the equipment by itself is clean, not always a safe assumption. Continue through the chain until the output of the final stage is just what you wanted.
Conclusion
You will find that the "Audio Microscope™" is one of the most valuable tools in your kit. In addition to using it with clip leads for direct connections, when used with a telephone pickup coil, Radio Shack Part # 44-533 it is most useful for doing a Magnetic Field survey of your equipment space. This piece of test equipment should be used hand in hand with the "A Clean Audio Installation Guide™" by Allen Burdick, a Benchmark Media Systems application note.
Also in Audio Application Notes

Audiophile Snake Oil
The Audiophile Wild West
Audiophiles live in the wild west. $495 will buy an "audiophile fuse" to replace the $1 generic fuse that came in your audio amplifier. $10,000 will buy a set of "audiophile speaker cables" to replace the $20 wires you purchased at the local hardware store. We are told that these $10,000 cables can be improved if we add a set of $300 "cable elevators" to dampen vibrations. You didn't even know that you needed elevators! And let's not forget to budget at least $200 for each of the "isolation platforms" we will need under our electronic components. Furthermore, it seems that any so-called "audiophile power cord" that costs less than $100, does not belong in a high-end system. And, if cost is no object, there are premium versions of each that can be purchased by the most discerning customers. A top-of-the line power cord could run $5000. One magazine claims that "the majority of listeners were able to hear the difference between a $5 power cable and a $5,000 power cord". Can you hear the difference? If not, are you really an audiophile?

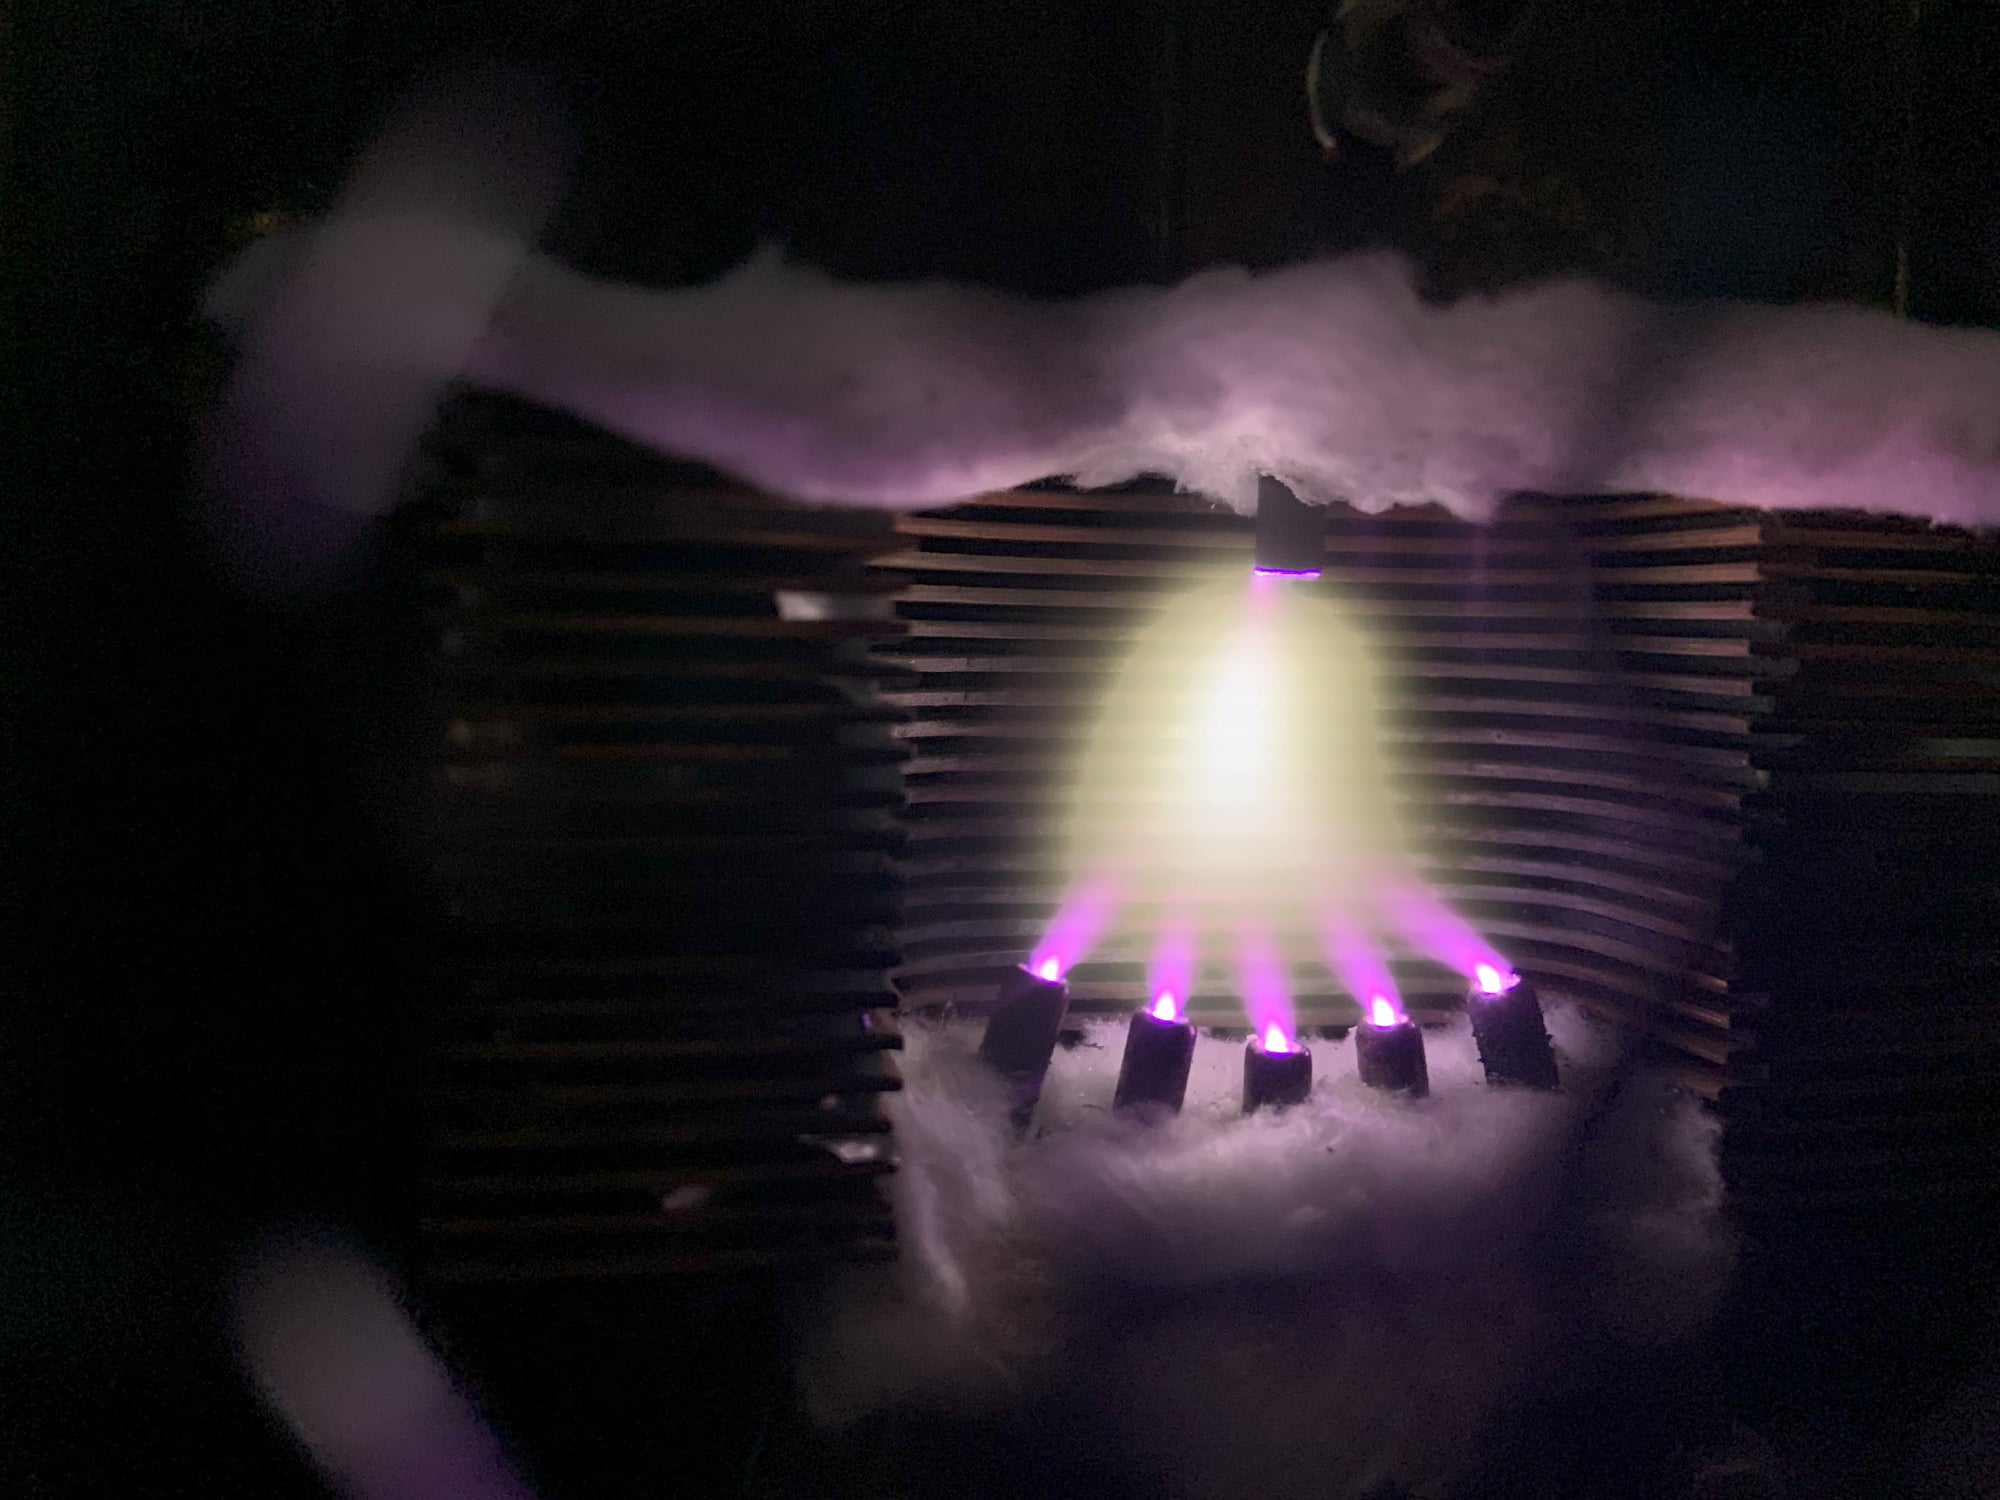
Making Sound with Plasma - Hill Plasmatronics Tweeter
At the 2023 AXPONA show in Chicago, I had the opportunity to see and hear the Hill Plasmatronics tweeter. I also had the great pleasure of meeting Dr. Alan Hill, the physicist who invented this unique device.
The plasma driver has no moving parts and no diaphragm. Sound is emitted directly from the thermal expansion and contraction of an electrically sustained plasma. The plasma is generated within a stream of helium gas. In the demonstration, there was a large helium tank on the floor with a sufficient supply for several hours of listening.

While a tank of helium, tubing, high voltage power supplies, and the smell of smoke may not be appropriate for every living room, this was absolutely the best thing I experienced at the show!
- John Siau

Audio Calculators
We have added an "Audio Calculators" section to our webpage. Click "Calculators" on the top menu to see more like these: